
Why Your Shutters Stick and Squeak
Sticking or squeaking shutters might seem like a minor annoyance, but they’re actually telling you something important about what’s happening behind the scenes. Wood is a living material that responds to humidity changes through hygroscopic movement—even after it’s milled, painted, and installed on your windows. When moisture levels rise, wood fibers absorb water and expand. That expansion might seem tiny, but even two millimeters of swelling is enough to make your shutters bind against their frames.
The Forest Products Laboratory has documented that wood can experience dimensional changes of 4% to 14% tangentially and 2% to 8% radially, depending on the species. This means your perfectly fitted shutters from installation day gradually become tighter as seasons change and humidity fluctuates. The problem compounds over time as paint layers build up, debris accumulates in hinges, and hardware begins to corrode or loosen.
Weather stripping adds another variable to the equation. Those rubber or foam seals that keep drafts out undergo degradation from UV exposure and temperature cycling. As they harden and lose flexibility, they create additional drag that makes shutters harder to open and close smoothly.
The Smart Approach to Lubrication of Moving Parts
When hinges squeak, they’re operating outside optimal friction parameters. The solution seems obvious—grab some WD-40 and spray away. But mechanical engineering principles tell us that effective lubrication requires clean surfaces to work properly. Applying lubricant over dirt and debris creates an abrasive paste that can actually increase wear.
Start by removing visible debris from hinge grooves using a small brush or cloth. Wipe everything down thoroughly before applying a conservative amount of penetrating oil directly to the hinge pin area where metal contacts metal. Work the shutter through its full range of motion several times to distribute the lubricant evenly across all contact surfaces.
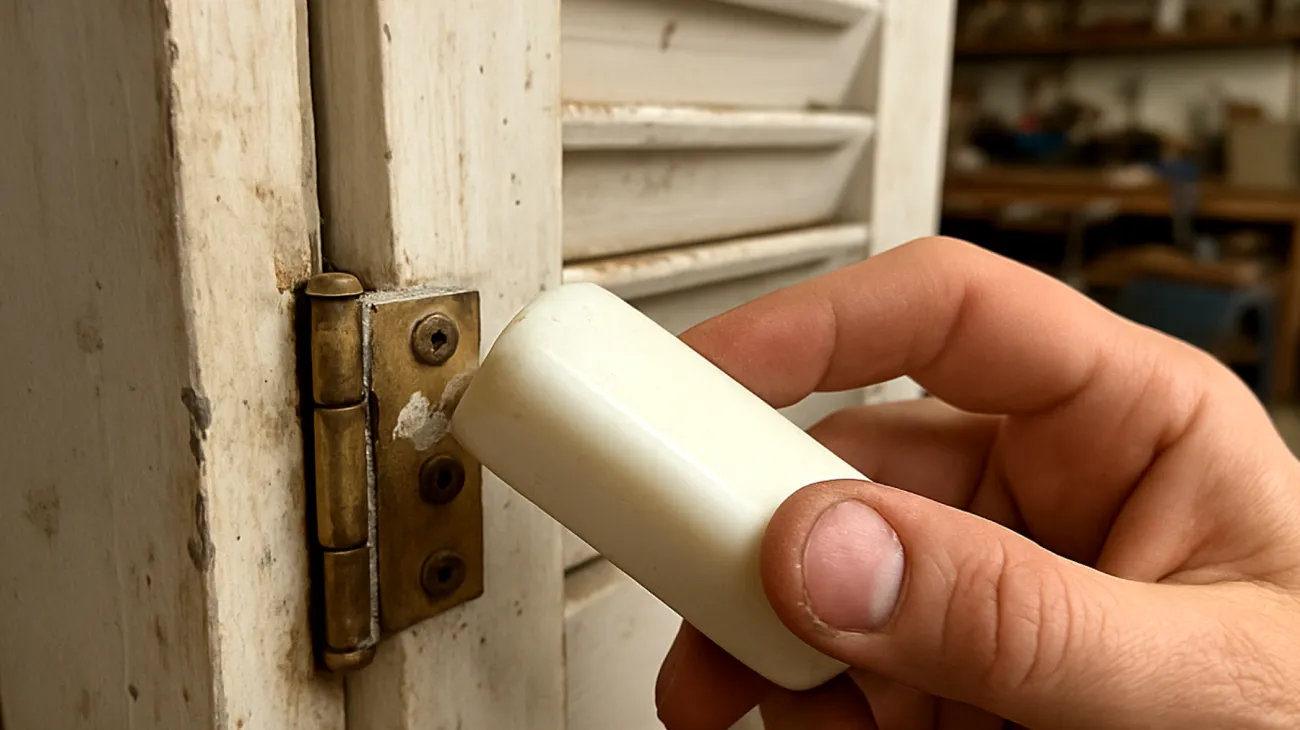
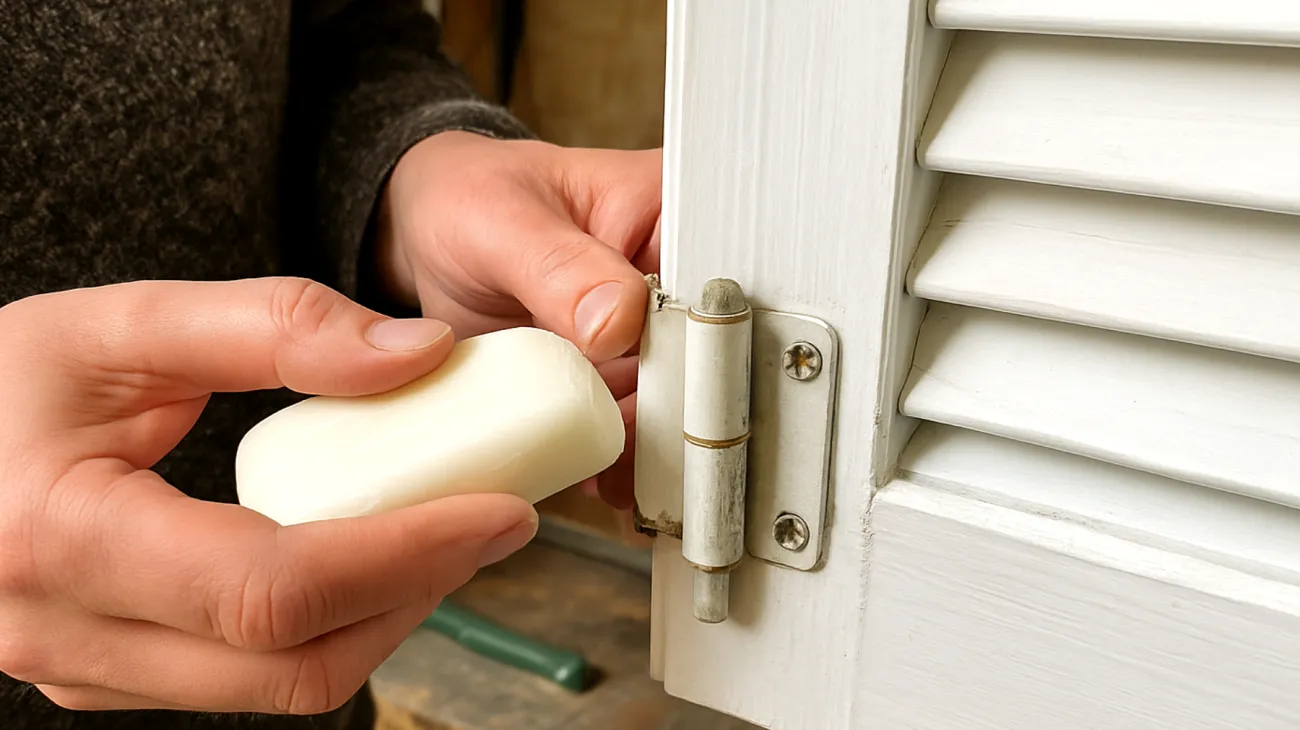
For a surprisingly effective alternative, try rubbing a bar of plain soap directly on the hinge pins. This creates metallic soaps—compounds formed when fatty acids react with metal surfaces to create boundary layers with reduced friction. Tribology research shows this soap-based lubrication can outlast many liquid lubricants in certain applications.
Diagnosing Those Stubborn Friction Points
A properly fitted shutter operates with clearances measured in fractions of millimeters. Environmental moisture affects that spacing dramatically through the hygroscopic properties we discussed. Swollen wood often contacts the frame at specific high points, creating localized stress that manifests as binding or sticking.
To identify problem areas, close the shutter slowly and feel for resistance points. Mark these spots with light pencil marks, then use fine-grit sandpaper or a hand plane to remove material gradually. The key word here is gradually—overcorrection can’t be easily reversed, and you want to maintain both the aesthetic appeal and structural integrity of your shutters.
Test frequently as you work. Wood removal should follow grain direction and respect the original design tolerances. Any newly exposed wood needs immediate protection with appropriate primer or finish to prevent moisture penetration that could restart the expansion cycle.
Tackling Hardware Problems That Go Beyond Surface Issues
Loose shutter hinges represent more than a simple tightening job. When hinge screws become loose, they shift slightly with each operation, gradually enlarging their holes in the wood substrate. Simply retightening screws into damaged holes provides only temporary relief because the wood fibers have been compressed and damaged.
For a lasting repair, you need to restore the wood’s ability to hold fasteners securely. Remove the loose screws completely and assess the hole damage. Small holes can often be filled with wooden toothpicks and wood glue, while larger damage might require wooden dowels cut to size. The chemistry of wood adhesion requires proper surface preparation and appropriate curing time to achieve bonds stronger than the original wood.
Professional maintenance protocols recognize that unusual noises like grinding, banging or squeaking indicate specific mechanical problems that benefit from systematic diagnosis rather than random fixes.
Modernizing Your Weather Sealing
Traditional weather stripping materials often failed through predictable degradation patterns, but modern polymer chemistry has produced superior alternatives. Current options include rubber foam strips that maintain elasticity over extended temperature ranges, silicone weather stripping with superior UV resistance, and vinyl seals that provide excellent durability in high-wear applications.
The selection process should consider your specific environmental conditions. Exterior shutters exposed to direct sunlight benefit from silicone or vinyl materials, while interior applications might work fine with more economical rubber foam options. Installation technique matters regardless of material choice—proper surface preparation and achieving correct contact pressure without creating excessive closing forces.
Common Mistakes That Make Things Worse
Some DIY approaches actually accelerate wear or create new problems. Applying petroleum jelly to hinges reduces friction initially but attracts contaminants that form abrasive compounds. Research shows improper lubricant selection can increase wear rates compared to dry operation.
Another frequent mistake involves sanding or scraping problem areas without subsequent protection. This exposes fresh wood surfaces to moisture penetration, accelerating the hygroscopic movement that caused the original sticking. Paint applied over unresolved underlying issues provides cosmetic improvement while trapping moisture and debris that continues causing damage.
- Never use petroleum jelly or heavy grease on hinges
- Always protect newly exposed wood immediately
- Avoid over-tightening screws in wood substrates
- Don’t apply paint over problem areas without fixing root causes
- Test adjustments incrementally rather than making large changes
Prevention Strategies That Actually Work
The most effective shutter maintenance follows reliability engineering principles—small problems addressed promptly prevent cascading failures that require extensive repairs. Annual maintenance should include systematic inspection and lubrication of all moving parts using appropriate materials in correct quantities.
Climate control in interior spaces minimizes environmental stresses that drive many shutter problems. Maintaining consistent humidity levels reduces the expansion-contraction cycles that create binding issues. For exterior shutters, high-quality finishes protect against moisture penetration and UV degradation that accelerate deterioration.
- Schedule annual hardware inspection and lubrication
- Maintain consistent indoor humidity when possible
- Protect exterior shutters with quality finishes
- Address small problems before they compound
- Keep hinges and frames clean of debris accumulation
When Professional Help Makes Sense
Most shutter problems remain within DIY capabilities when approached systematically with proper understanding of underlying principles. However, structural settling that affects frame alignment, extensive wood rot or damage, and complex hardware failures might require professional assessment.
The key lies in recognizing when problems exceed simple maintenance and enter the realm of structural repair or replacement. Persistent binding after addressing obvious causes, hardware that continues failing despite proper repair techniques, or visible structural damage to frames or walls indicates issues beyond typical homeowner repairs.
Understanding the engineering principles behind how shutters work—wood movement, mechanical friction, environmental effects, and materials degradation—transforms maintenance from guesswork into informed problem-solving. Each squeak or stick represents feedback about system performance relative to design intent, providing opportunities for systematic improvement rather than just quick fixes.
Table of Contents